October 15,2025
admin
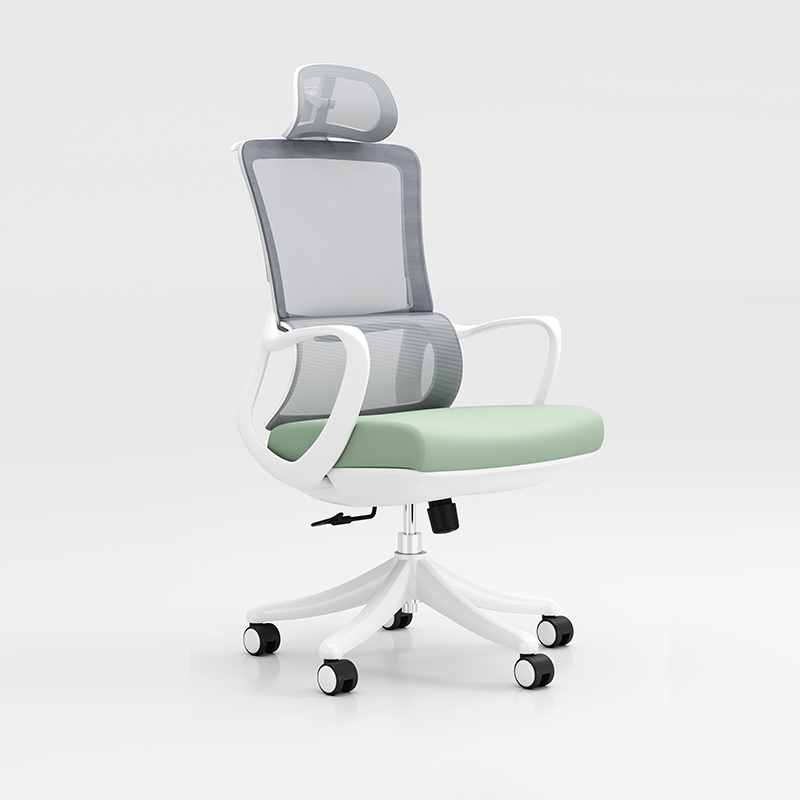
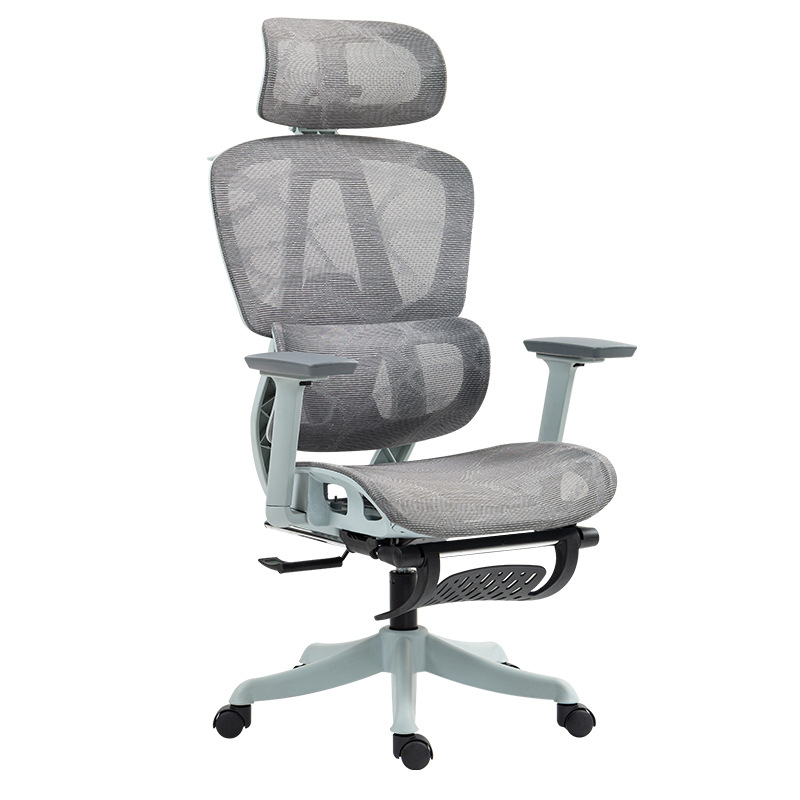
Buying a new office chair is an exciting experience, whether for the office or home. A new chair can bring comfort and support. However, many people feel a bit confused when they open the package and face a bunch of parts and assembly instructions. In fact, assembling an office chair isn’t as complicated as it may seem. By following a few simple steps and tips, you can have it assembled in minutes. This article provides a quick guide to help you easily complete the assembly of your office chair.
3. Installing the Gas Lift Cylinder
5. Installing the Armrests and Backrest
First, make sure all the parts and tools are available. Typically, the office chair package includes the following main components:
Before you start assembling, it is recommended to work on a clean surface. It’s best to place a blanket or cloth on the floor to prevent scratching the parts.

First, place the chair base (usually a five-star base) on the ground. Then, insert the casters into each hole in the base. Usually, the casters will snap into place with a light push. This step lays the foundation for the assembly of the office chair, providing stable support for the gas lift and seat.

Insert the gas lift cylinder into the center hole of the base where the casters have been installed. This gas lift, usually made of metal, is responsible for adjusting the chair's height. Make sure the gas lift is securely inserted into the base to ensure stability for the next step.

Next, attach the seat section to the gas lift. Typically, there will be a metal socket at the bottom of the seat section that aligns with the top of the gas lift. Carefully align the seat section with the gas lift and press down to ensure the gas lift is properly inserted. At this point, the seat section is now connected to the base.

If your office chair comes with armrests and a backrest, this is the step where you install them. The armrests are usually secured with screws. Use the screws and tools provided to firmly attach the armrests to the sides of the seat. Then, install the backrest by aligning it with the connection holes in the seat section and securing it with screws.
Make sure all screws are tightened to ensure the armrests and backrest are stable and secure.

Once all parts are assembled, carefully check all connections to ensure they are tight. Make sure the armrests, backrest, and seat are securely fastened and that there are no loose screws or unstable components.
Next, sit in the chair to test its functionality. Use the gas lift to adjust the seat height to meet your needs. Also, make sure the backrest angle and seat cushioning provide comfortable support for you.

Tips:
Read the instructions: While the steps for assembling an office chair are generally similar, different brands and models may vary slightly. Reading the instructions can help you avoid unnecessary mistakes.
Don’t overtighten screws: During installation, make sure the screws are tight but don’t use excessive force to avoid damaging the parts.
Team up: If some steps seem complicated, having a friend or colleague help can make the process smoother.
Assembling an office chair doesn’t require much time or complicated tools. By following the steps above, you can easily complete the assembly in just a few minutes. By mastering these simple tips, you’ll be able to enjoy the comfort and convenience of your new chair more quickly. Whether for daily work or home office use, choosing an ergonomically designed office chair and ensuring it’s assembled correctly can significantly improve your comfort and work efficiency. Choose Ekintop furniture, and we will provide you with the best products and services.

